


 Support

 3D Printers
 ASUS
ASUS
 Collectables
 Games Workshop
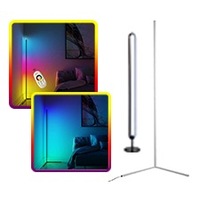 LED Lights
 MSI
MSI
 Mule
Mule
 Ninebot
 Sunmi
Sunmi
 Trading Cards
 Xiaomi
 Trending
 New Arrivals
 Business Solutions
 Barcode Scanners
 Brochure/Business Card Holder
 Cash Drawers
 Cash Registers
 Consumables
 Digital Signage
 Health and hygiene
 Mounting Solutions
 Point of Sales Systems
 Pospal
 Receipt & Label Printers
 Safety Equipment
 Scales
 Security
 Software
 Tablets
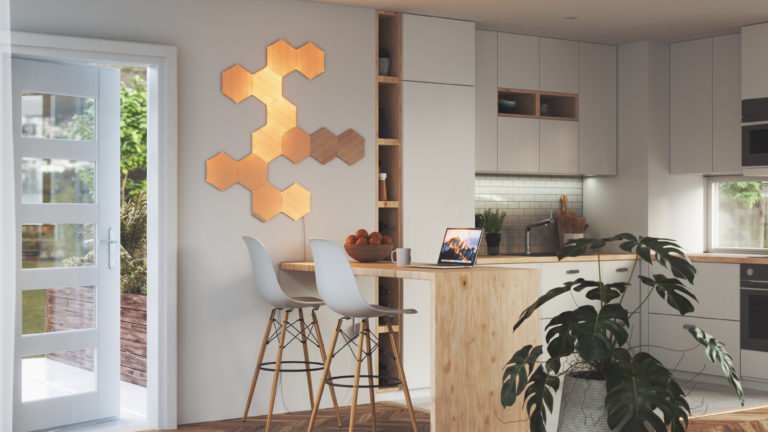
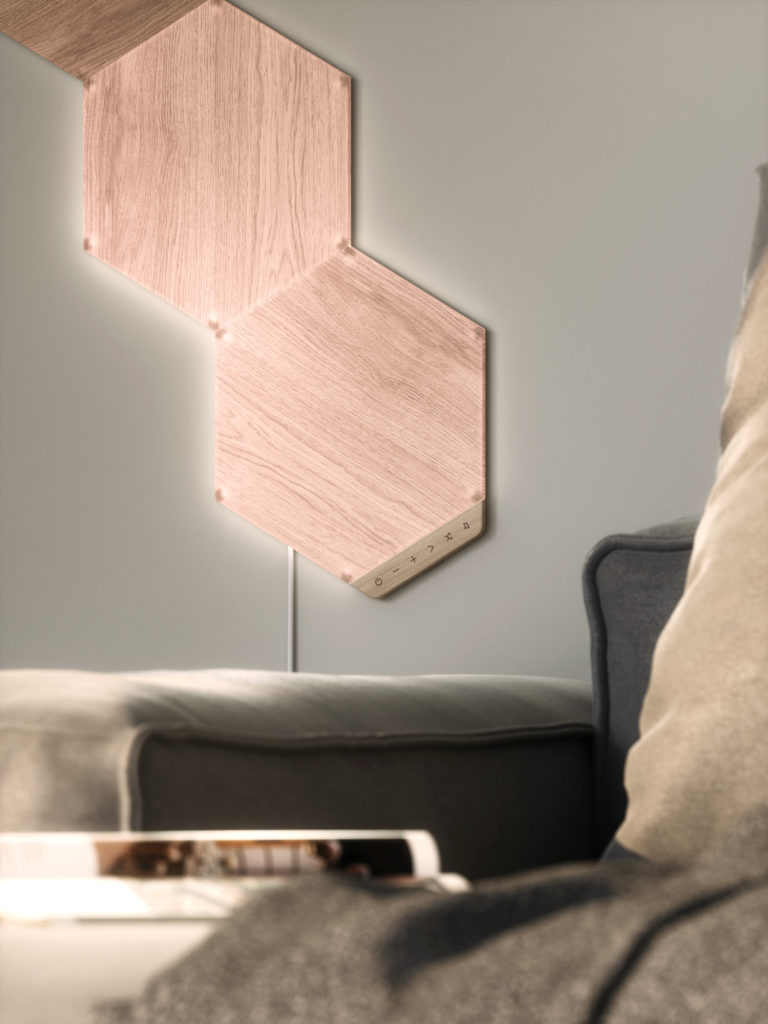
How to setup your nanoleaf

Congratulations, you got your hands on the Nanoleaf Elements and now it’s time to upgrade your smart home (and your home decor) and set them up. If this is your first time setting up don’t worry—you’re in the right place to get started. We’ll always be here to help out and that’s why we made this quick setup guide!
I’m going to take you through all the ins and outs of the set up for Nanoleaf Elements so you can get to the fun part that much quicker. We’ll be going over:
- Designing Your Elements Layout
- Installing your Elements
- Pairing for iOS
- Pairing for Android
- Controlling Your Elements
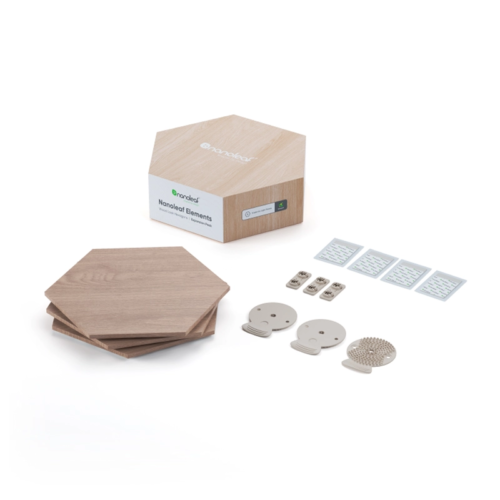
Before we get into more details about setting up your Essentials, let’s first take a look at what’s inside the box so we can get started:
- Elements Smarter Kit
- • Elements Light Panels x 7
- • Linkers x 8
- • Mounting Tape x 8
- • Controller x 1
- • Mounting Plate x 7
- • Power Supply x 1
- Elements Expansion Pack
- • Elements Light Panels x 3
- • Linkers x 3
- • Mounting Tape x 4
- • Mounting Plate x 3
Step 1: Designing Your Layout
Now it’s time to design your unique layout—the most fun part in my opinion! It’s important to plan your layout on a table before mounting it and plugging it into a power source to make sure all is good. To ensure your design fits into your space, measure the width and height of your wall before setting up the panels.
Flex Linkers
Extend the possibilities of your Nanoleaf Elements even further! Bend around corners, mount the panels to angled surfaces, maybe even create something a little radical. Each linker bends 360 degrees.
Step 2: Mounting Your Panels
1. Prepare Your Surface
The Nanoleaf Elements should only be installed indoors and on a flat surface that can support the weight of the panels. Ensure to clean your surface to be free of dust, moisture and oil.
PRO TIP: The included Mounting Tape is NOT recommended for textured, popcorn, and porous surfaces (ie. wallpaper or brick walls) or for use on ceilings of any texture. If you plan to use your panels on surfaces like these please, Screw Mount them in. See how here.
2. Set Up Your First Panel
Designate a panel from your setup as the starting panel. Attach all needed linkers before you attach any panel to the wall.
3. Connecting the Controller & PSU
With your first panel, connect the Controller and PSU. This will ensure that your setup is properly working as you continue to connect your panels together. The position of these can be changed to your liking later on.
PRO TIP: Each standard 42W PSU supports up to 22 Elements panels (2W per panel). Each Controller supports up to 80 Elements panels. Please check out our PSU Calculator for large installations.
4. Mount Your Panels
Remove the protective liner from the tape and position your panel into place. Mount your panel by applying strong pressure to the center (this should be where the Mounting Plate is on the reverse side). Make sure to rub your fist in a circular motion for 30 seconds to avoid any falling panels.
PRO TIP: Make sure to leave the end of the tape sticking out. This will allow you to safely remove them later from the wall.
5. Complete Your Setup
Continue to add your panels ensuring that the linkers are fully snapped into the linker slot. The panels should be aligned edge to edge and should light up as each panel is added!
Step 3: Pairing Your Panels
Pairing with iOS Devices
Now it’s time to pair your panels! Pairing will allow you to control your lights from your phone and give you access to some extra special features. To ensure a smooth pairing process, please make sure you have the following things ready:
- • Your Device: Requires iOS 12+
- • Pairing Codes: Found on the Quick Start Guide, PSU or Controller
- • Wi-Fi Network: 2.4 GHz Wi-Fi Network (5 GHz networks are not compatible with Nanoleaf products)
- • Connected Controller: A white light indicates that your Elements are ready for pairing
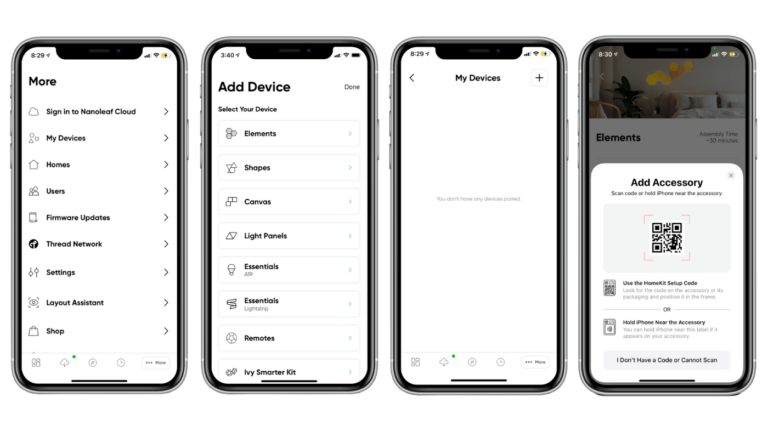
- Download and Open the Nanoleaf App. You can find the official Nanoleaf Smarter Series App in the App Store.
- Pair Your Elements
- Select the MORE tab.
- Select MY DEVICES and + to add a device.
- Select ELEMENTS as your product and START PAIRING.
- The camera will open automatically.
- Scan the HomeKit pairing code to pair.
- Your Nanoleaf Elements should now be connected and ready to go.
iOS Additional Pairing Method
- • OPTION A: Pair with NFC Tap
- After Step 2.4 in the Standard Pairing Process, hold the top of your device over the buttons of your Controller.
- A connection should be automatically established and your Elements will be paired.
- • OPTION B: Pair with Manual Input
- Select I Don’t Have a Code or Can’t Scan.
- Enter the 8-digit pairing code (can be found on the Quick Start Guide, PSU or Controller).
Now that you’ve set up your iOS device with your Elements, you can also have multiple users control the lights using the Apple Home App and the Nanoleaf App:
- Primary User:
- Open the Nanoleaf App.
- Select the MORE tab.
- Select USERS.
- Invite the secondary user with their Apple ID email.
- Secondary User:
- An invitation from the primary user should appear for you to accept.
- Open the Home App and select the home icon in the top left.
- Select HOME SETTINGS, a list of homes will appear.
- Accept the home that has been shared with you. This will give you control of the Elements as well as any other HomeKit devices in the same home.
Pairing with Android Devices
Don’t worry, we didn’t forget about you Android users! When it comes to pairing your Elements to your Android devices, the pairing is essentially the same as iOS but, we’ll still go over every step with you to make the process as easy as possible.
Just like the iOS setup instructions, to ensure a smooth pairing process, please make sure you have the following things ready:
- • Your Device: Requires Android 5.0+
- • Pairing Code: Found on the Quick Start Guide, PSU or Controller
- • Wi-Fi Network: 2.4 GHz Wi-Fi Network (5 GHz networks are not compatible with Nanoleaf products)
- • Controller: A white light indicates that your Elements are ready for pairing
- Download and Open the Nanoleaf App. You can find the official Nanoleaf Smarter Series App in the Google Play Store.
- Pair Your Elements
- Ensure your location settings are enabled on your device.
- Select DEVICES, located in the side menu on the left.
- Select + to add a device.
- Select ELEMENTS as your product and START PARING, choose one of the following options to pair.
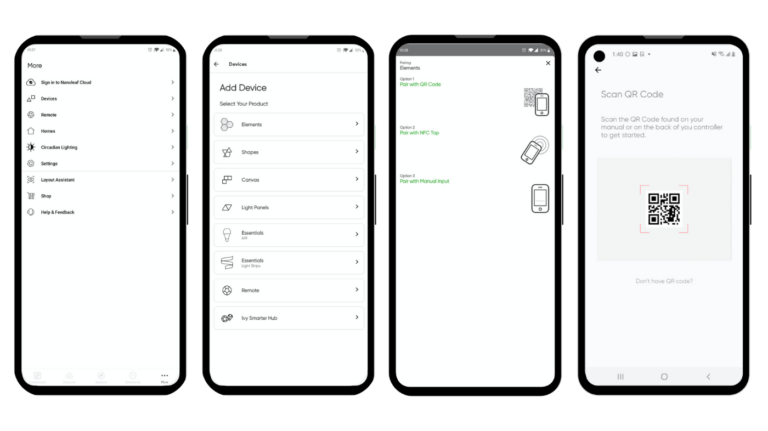
Additional Pairing Methods:
- • OPTION A: Pair with a QR Code
- Scan the QR Code found on the Quick Start Guide, PSU or Controller.
- • OPTION B: Pair with Manual Input
- If you have more than one set of panels connected to your network, select the magnifying glass to identify the correct setup (it will flash green).
- Once identified, TAP TO PAIR.
- Enter the 8-digit pairing code (found on the Quick Start Guide, PSU or Controller).
Step 4: Controlling Your Elements Panels
You’re finally done setting up your Elements—easy peasy! Now it’s time to see everything come to life and turn on your lights. I’m going to walk you through all the unique features, helpful tips and the different ways to control your lighting to help make your days a little easier.
Controller
The Controller is also the brain of the Nanoleaf Elements! With the Controller buttons, you can easily control your lights and you have access to convenient shortcuts to common commands. You can also attach your Controller to any available linker slot in your layout. Here’s what you can do with the Controller buttons:
- • Power ON/OFF: Turns the lights on and off.
- • Dim/Brighten: Change your brightness from 0% – 100%.
- • Next Rhythm Scene: Cycle through Default or Saved Rhythm Scenes.
- • Shuffle Scenes: The Controller comes with dozens of preset Scenes, using the Shuffle button to cycle through them. Hold the Shuffle button to return to a previous random Scene.
Advanced Button Controls
You can also use the Controller’s touch buttons for advanced commands—most commands can be executed by holding buttons, or tapping two buttons at once. Here is a full list of shortcuts:
- Return to previous random Scene: Hold ‘Shuffle Scenes’ button down for 3 seconds
- • Only the last 5 randomly loaded Scenes are available. A flash of yellow on the panels will indicate that you are at the end of your browsing history.
- Save a Current Scene: Hold ‘Next’ button down for 3 seconds
- • This saves the current Scene if it’s not already saved. This is most useful for saving Scenes you like when using Shuffle.
- Activate White Lighting Mode: Tap ‘Dim/Brighten’ buttons together
- • Cycle through the following preset white light modes: Warm White (1500K), Reading Light (2700K), Daylight White (4000K).
- Activate Power Diagnostic Mode: Hold ‘Dim/Brighten’ buttons down for 5 seconds
- • If you have more than 22 panels connected to your Controller, this enables or disables Power Diagnostic Mode. This mode helps you place additional power supplies to optimize your Nanoleaf Elements system.
- Pair a Third-Party App: Hold ‘Power ON/OFF’ button down for 5 seconds
- • This opens a 30s window to pair your devices.
- Activate Wi-Fi Hotspot Mode: Hold ‘Power ON/OFF’ and ‘Next Rhythm Scene’ buttons down for 30s
- • This mode allows your Controller to act as a local network hotspot without an Internet connection. With this mode active, you can use the Nanoleaf App to operate your Nanoleaf Elements without needing a Router or access point.
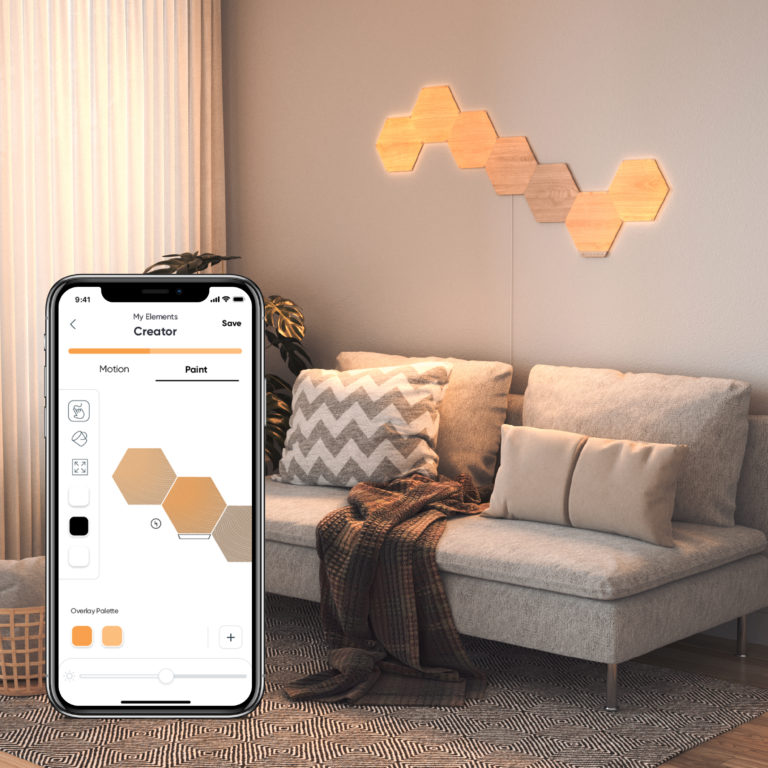
The Nanoleaf App
With the Nanoleaf App, turn your lighting on and off, control brightness, group lights by home and by room, create and use Scenes, and much more:
- • Dashboard: Choose an existing Scene or create your own (Static, Dynamic, Rhythm, Group, Layered). You can also use the Paint Tool to paint panels individually.
- • Discover: Find and download thousands of new Scenes created by the Nanoleaf community.
- • Explore: Find helpful information including tutorials, new device features, etc.
- • Schedules: Automate your Scenes to turn on or off.
Congrats, you’ve finally made it to the end and can graduate as a Nanoleaf Elements pro! Use the link provided below to shop through our collection of nanoleaf ranges.
 Secure Payments


